Garden Chi'
This post shares 2 full recipes from my recently published Regenerative Gardening and Recipe book.
(Basic Vegetarian Kimchi made with seasonal garden vegetables)
This vegetable ferment is an amazing way to preserve a diverse array of extremely nourishing (and medicinal) crops together in one flavor packed probiotic rich package.
In my recent post on 30 Reasons To Make Your Own Sauerkraut and Include a Daily Forkful In Your Diet I explored a long list of health benefits that are unlocked by the simple act of teaming up with beneficial bacteria to turn cabbage into sauerkraut. Well, all of the health benefits I outlined in that article are also true of Kimchi except kimchi also offers the additional health benefits of Hot peppers and Ginger and more!
Kimchi is a fermented food that’s a staple in Korean cuisine. In fact, it is one of the corner stones of Korean Culture. In the old days it was not only a cherished tradition but also represented a necessity for it meant being able to preserve nutrient dense summer crops through the winter. It’s a tangy dish that’s known for its unique flavor. And it’s got plenty of other perks, too.
contains lots of important nutrients
helps maintain a happy, healthy gut
supports your immune system
promotes heart health
protects against oxidative stress
includes beneficial plant compounds
reduces inflammation
boosts brain health
It offers a range of other health benefits as well
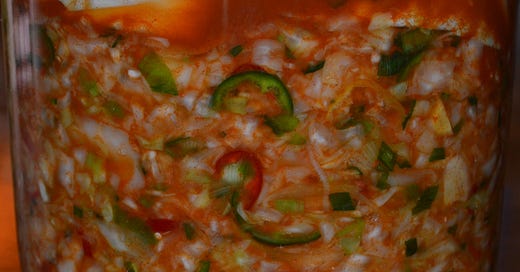
Our vegetarian kimchi is made with home grown ginger, cabbage (both regular green ones and Napa), medium heat ripe chili peppers, daikon radish, carrots, green onions and several other key ingredients that bring the flavors all together into a refreshing, warming, unique and highly nutritious preserve that can bring some bright and fresh garden flavor to those dreary winter nights.
This version of kimchi is a little more approachable and culinarily versatile than our exuberant and fiery Purple Dragon Chi’.
We love to use our Garden Chi to make kimchi noodles, or enjoy as a side with perogies, eggs, on Asian style wraps/summer rolls or by its self for a refreshing and probiotic rich snack.
Due to the presence of fermented ginger, hot chilis, cabbage and probiotics in Kimchi it is a food that super charges the immune system. Therefore raw kimchi is not only a delicious food but also a powerful medicine.
Kimchi is a scientifically proven safeguard against the flu. New research proves, with fall/winter flu/sniffle season upon us, we should stock up on homemade kimchi. The fermented Korean food has an antiviral effect that stops the growth of the influenza virus. Flu-infected mice that ate kimchi had a higher survival rate and lost less weight. The study also referenced the 2003 SARS pandemic in Hong Kong and China — Korea was the only place where few people were infected with the virus, attributed to Korean’s love of kimchi. Study results were published in the Journal of Microbiology.
Kimchi is one of the central pillars of Korean culture, it is traditionally comprised of lacto-fermented Napa cabbage, Daikon Radish, Green Onions (or leeks), Ginger, Sea weed, Fish sauce and Chilies". “Garden Chi” is our own version of that traditional ferment. In our version we made use of crops that grow readily in our garden and now (through wild fermentation) can be preserved to be enjoyed in the winter months and taste way better together than they did on their own. The concept is simple, it takes some elbow grease and patience, but the result is well worth it.

Ingredients:
- 2 medium heads of green cabbage
(preferably organic)
- 2 large softball sized turnips,
or one large daikon radish (grated)
- 12 to 16 fresh green onions, or 3-4 leeks (chopped)
- 2 pieces of ginger the size of your thumb, grated
(or about 2 pieces an inch thick and two inches long)
- 3 to 4 tablespoons ground sweet paprika
- 2 to 3 tablespoons hot pepper flakes (such as gochugaru flakes) or
½ cup – one full cup of diced hot peppers.
- 3 to 4 tablespoons of unrefined sea salt
(only 4 tbsp. if temperature of fermentation
environment exceeds 27C / 80 F)
- some diced garlic (optional)
- pan toasted sesame seeds (to taste)
- some kombu, dulse or other seaweed/kelp flakes
- distilled or filtered spring water for making the brine
Directions:
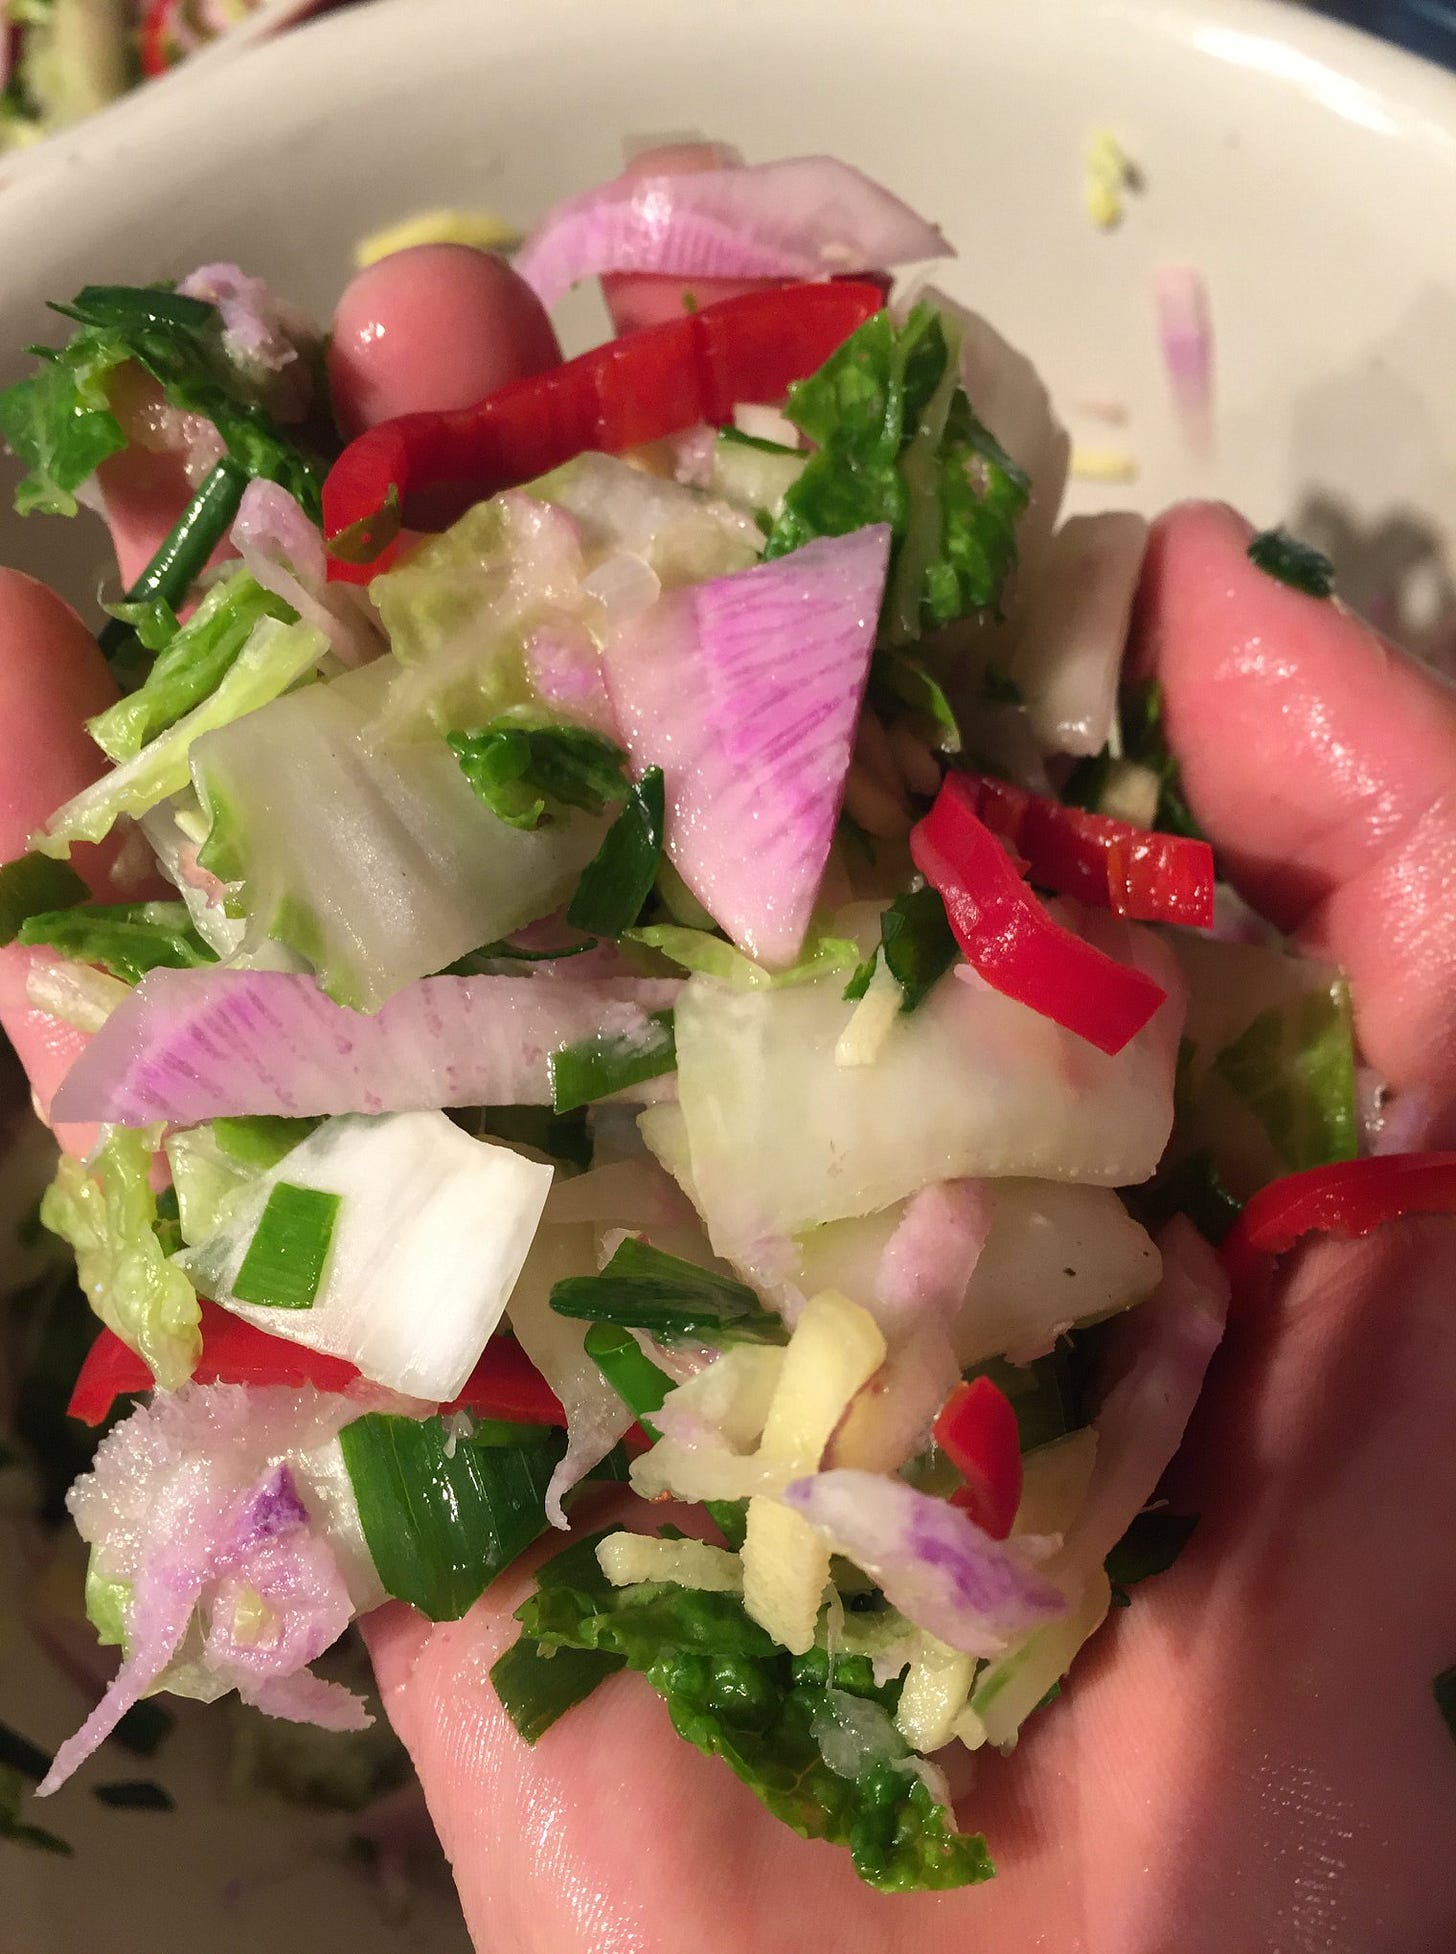
Begin by cleaning your fermentation vessels with hot soapy water and rinsing well (I sometimes use one liter wide mouth mason jars for smaller batches, but if you have 2 liter jars or other vessels such as a ceramic crock that will work great too). Remove the first couple outside leaves of the cabbages if damaged or wilted and discard (compost). Next take a couple fully intact whole leaves, snap them off from the head and set aside for using as a ‘fermentation weight cap’ later. Then slice the cabbage in half, then in half again so that you may easily remove the core (either setting aside for use as a fermentation weight, to put through a juicer to enrich/add to brine volume or discard into compost as a last resort). The cabbage quarters are then cut into thin strips using a sharp knife or mandolin. Add the cabbage and all the other ingredients to a large mixing bowl and mix well with hands. While mixing massage the ingredients vigorously as to bruise up the cabbage, pull the juices out and open up the cell walls to help the good bacteria (lactobacilli) to be able to do their work. Either massage for at least ten minutes by hand in this fashion until the cabbage turns translucent and a brine (vegetable juice) appears in the bottom of the mixing bowl or alternatively use a mallet, rolling pin, pestle or other blunt kitchen instrument to pound the mix of veggies until you achieve the same result. Add the ingredients into bowls (or one huge wooden vessel) in even proportions.

Cut the napa cabbage into one inch squares and add to the bowls as well. Add about half the salt to the bowls a little bit at a time, massaging the salt into the cabbage with your clean hands to encourage the juices to come out of the cabbage and open up the cell walls to make favorable conditions for fermenting.

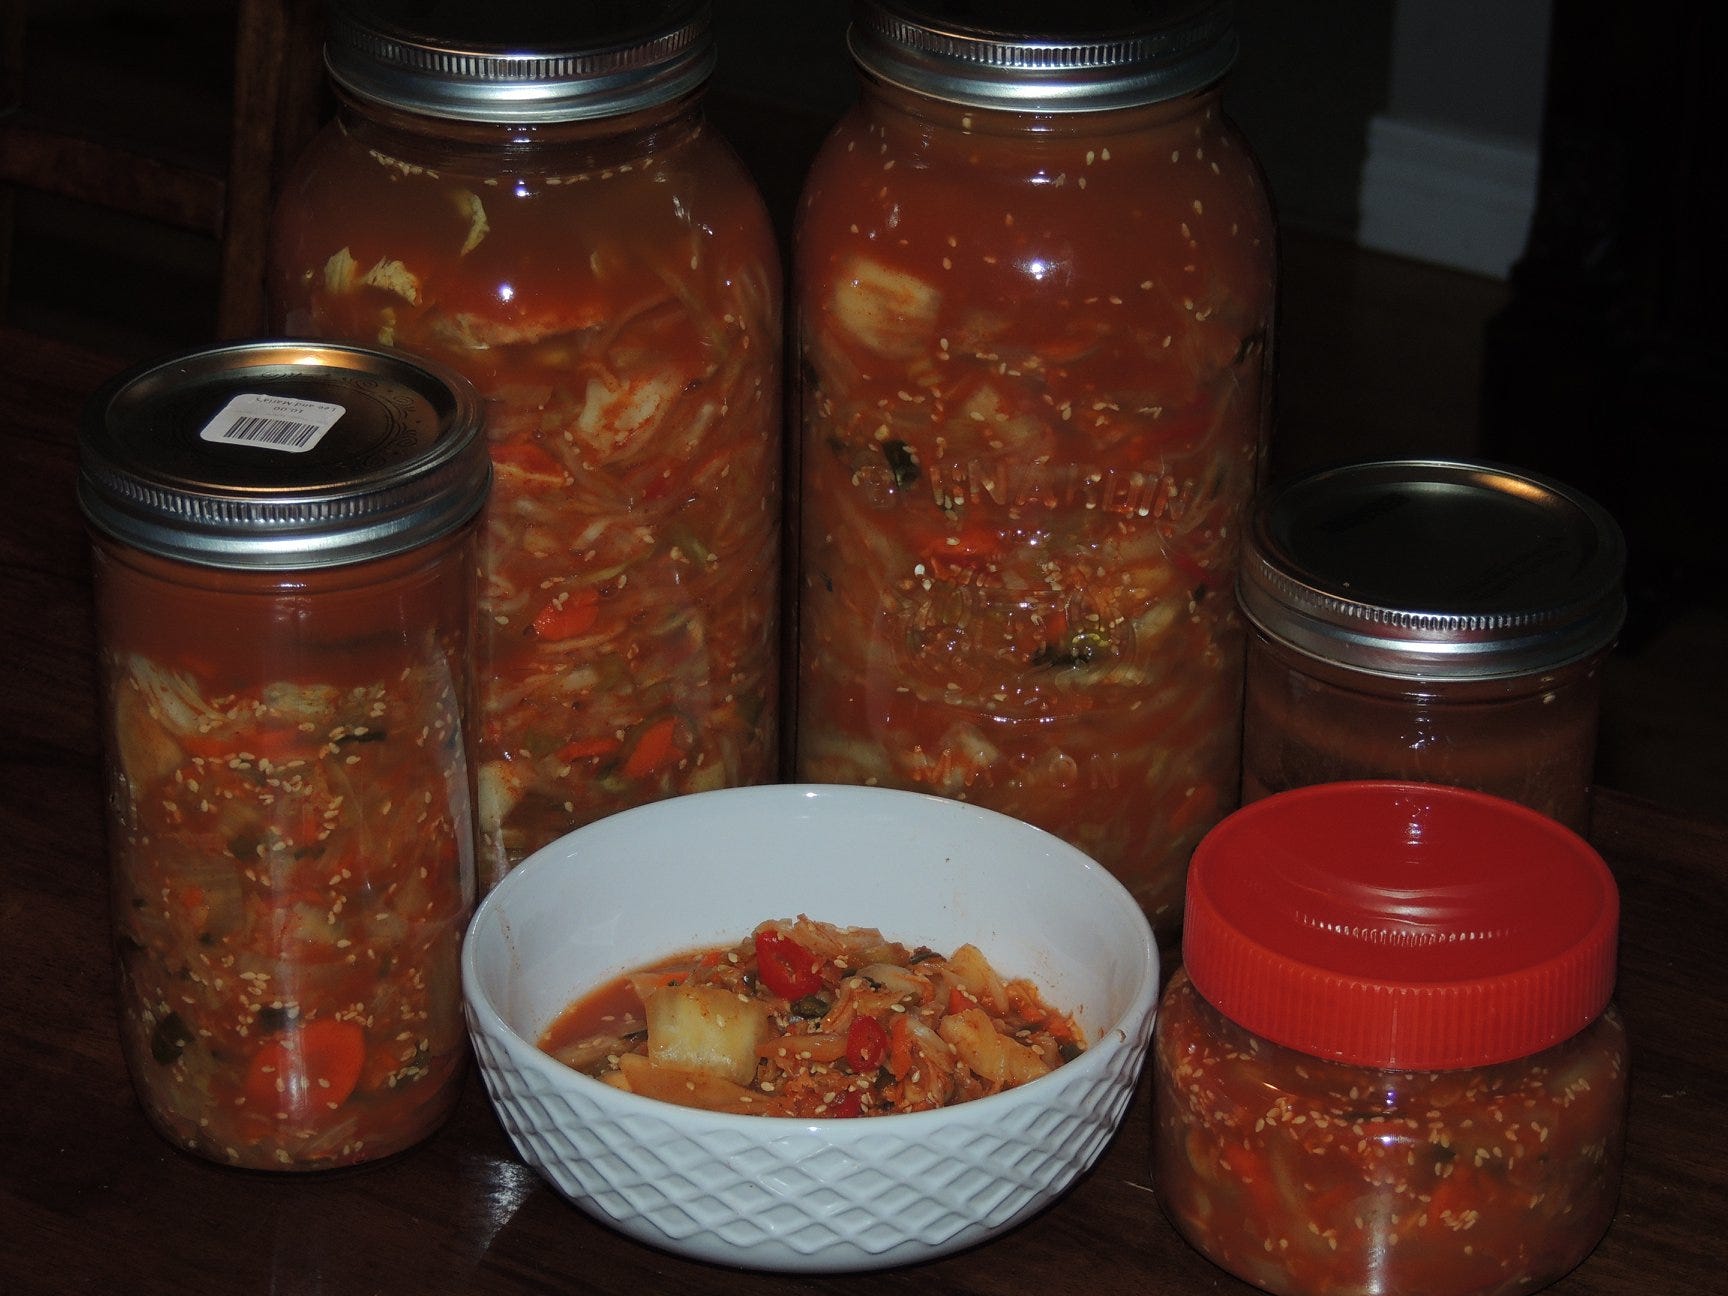
Once bruised and translucent add your Kimchi mixture to your jars (or other fermentation vessel) and pack it in tightly with either your hands to exclude all oxygen until you are about 2 inches from the top of the jar. Cut, fold or tear the whole cabbage leaves you had set aside so that you can stuff them into the jars so that they are snug and will hold all the contents below serving as a “cap”. Add a fermentation weight (I use either shot glasses or sterilized quartz stones, but something as simple as a left over cabbage core will do) By this time a brine (salted vegetable juice) should have appeared, If there is not enough brine present to completely submerge the ingredients then create a salt water brine by dissolving 1 ½ teaspoons of salt to one cup of water and bringing back down to room temperature before adding to your jars of kimchi until the ingredients and fermentation weight are completely submerged in brine. Seal the jars and place in a space out of direct sunlight which has an ambient temperature of 16-27C.
For a fun idea of how to use up some of your homemade kimchi abundance try some…

I typically let the Kimchi ferment for at least 7 days before tasting for desired level of tanginess (“burping” daily to release the pent up CO-2 produced by the fermentation process by quickly loosening the ring of your jars to release pressure then tightening back up again. Ferment for 7-14 days, when you have achieved the desired flavor place the jars in a cellar (at 60-70 Fahrenheit) for mid term storage (3-6 months) or place in the refrigerator for long term storage (6-12 months). When removing kimchi from the jars be sure that the brine level is above the loose kimchi before you place back into cold storage adding brine as needed.
I prefer to go the route of "wild" (spontaneous) fermentation (vs culturing/”back slopping”) as this encourages a more diverse range of probiotic species to set up shop in my end product. It is also worth keeping in mind (in both the context of "back slopping" aka culturing, and in the context of when you choose to begin eating or storing your ferment in the fridge) that as the fermentation process proceeds different species will exist in higher concentrations depending on the acidity of the fermented veggie material and brine. In other words, the longer it ferments, the more acidic (tangy) the sauerkraut will get (which I love the taste of my self) but this also means a more narrow range of LAB species will be capable of surviving in that increasingly acidic environment the longer it sits at room temp. Thus, whether it is for optimizing culturing or eating to maximize the diversity of probiotic species being ingested, I personally like to eat some of my kimchi and sauerkraut at different stages during the fermentation as to maximize the spectrum of probiotic species I am ingesting (and enjoying different textures and flavors that are available at different stages of the fermentation as well). Sometimes a young crisp and effervescent kimchi (only fermented for a couple days at room temp) is a refreshing change from the more mature/tangy kimchi that I typically make, so we will switch up how long we wait before putting jars in the fridge when making larger batches so we have variation in textures and flavors for complimenting specific recipes accordingly (labelling the jar appropriately)
As I stated in my recent post, fermented foods (such as sauerkraut or kimchi) are by no means a ‘cure all’ but as I described these are foods that can help to lay the foundation for a generally more resilient body, increasing one’s longevity and optimal function of the innate immune system. Also, they taste great! :)
I hope you will try making some of your own Garden Chi’ at home and share some pics of your own version if you do.
Happy Fermenting my friends!
The recipe for Kimchi above is from my recently published book (cover shown in image below).

For those interested in purchasing a physical copy of the book you can do so through this link:
https://recipesforreciprocity.com/shop/softcover/


